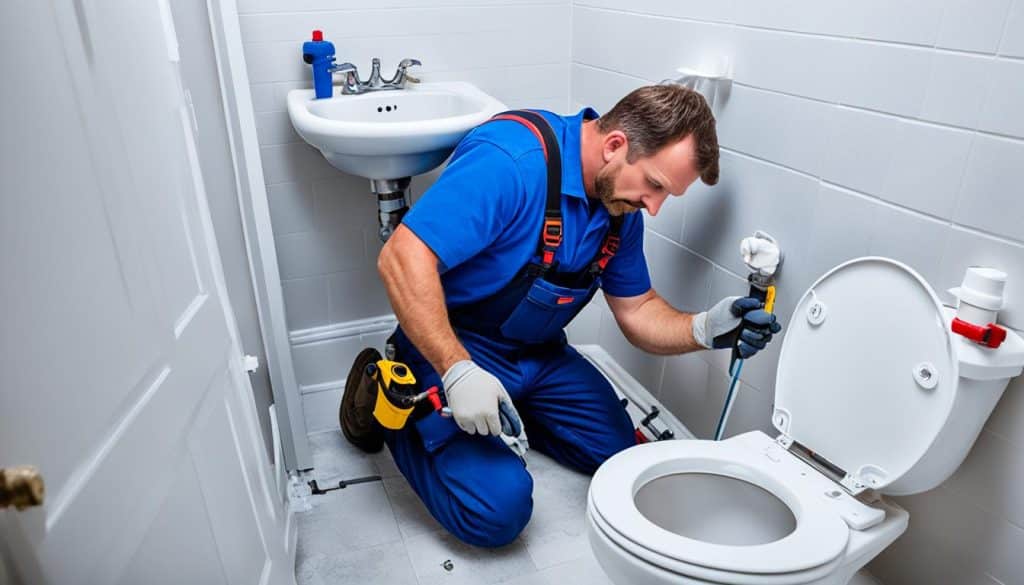
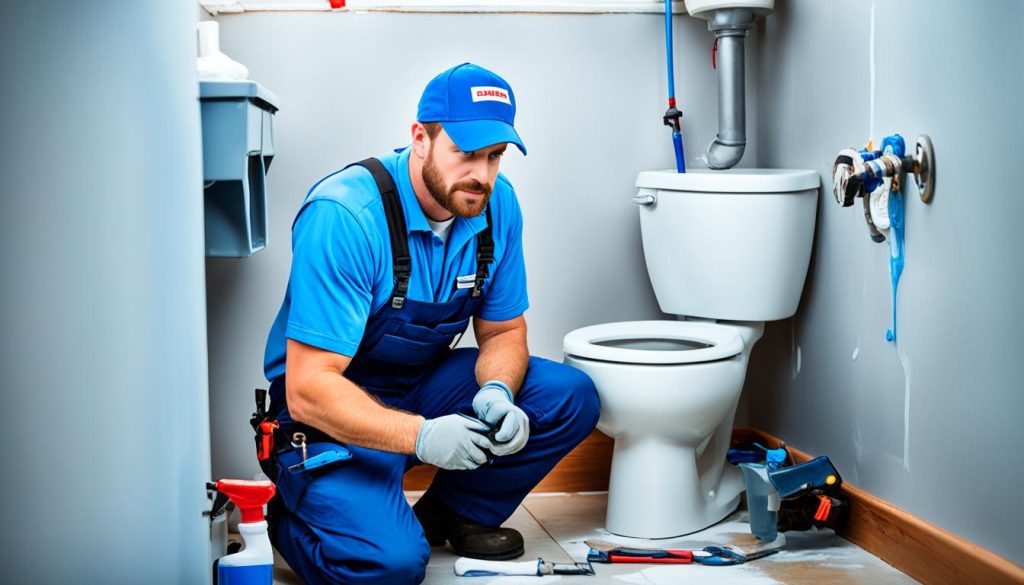
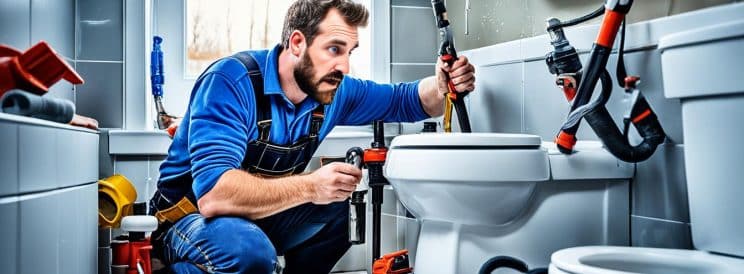
Ever walked into your bathroom and found a growing puddle around your toilet? How Can I Fix a Leaky Toilet Tank or Bowl? A leaky toilet can waste a lot of water and damage your home.
This article will help you fix a leaky toilet. We’ll cover the common causes and simple steps to fix it. Whether it’s a small drip or a big leak, you can make your toilet leak-free. Keep reading to learn how to solve this common problem with ease.
Key Takeaways:
- Identifying the common causes of toilet leaks is crucial for effective repair.
- Simple steps can often resolve minor leaks in a toilet tank or bowl.
- Replacing faulty parts, like the fill valve or toilet flapper, can fix persistent leaks.
- Turning off the water supply and draining the toilet are necessary first steps.
- A functioning, leak-free toilet contributes to home efficiency and reduces water wastage.
Understanding the Causes of a Leaky Toilet
Finding out why a toilet leaks can be tricky. Many things can cause the problem. It’s important to know where the leak is coming from.
Common Areas for Leaks
When fixing a leaky toilet, look at a few key parts. The fill valve, flapper, and gasket are often the problem. The fill valve controls water flow and can wear out.
The flapper, a rubber seal, can also get old or not fit right. This lets water leak out. The gasket, which seals the tank to the bowl, can break down too.

Environmental Factors
Things around us can make toilet parts wear out faster. Changes in temperature can cause parts to expand and contract. This can lead to leaks.
How humid it is can also affect seals. The type of water used can bring minerals that damage parts. Even cleaning products can harm the toilet, making leaks worse.
Steps to Turn Off Water and Drain Toilet
Before fixing a leaky toilet, you need to turn off the water and drain it. These steps make the area dry. This prevents water waste and flooding while you repair it.
Turn Off the Water Supply
First, find the shut-off valve. It’s usually behind the toilet, near the wall. Turn it clockwise to stop the water flow. This stops water from entering the tank, helping you fix the leak without a mess.
Drain the Toilet
Then, drain the toilet for repairs. Start by flushing it to empty the tank and bowl. Use a sponge to soak up any leftover water in the tank.
Use a small bucket to catch water from the bowl. Make sure the toilet is dry to avoid more problems while fixing the leak.

Replacing Faulty Parts to Fix a Leaky Toilet Tank or Bowl
Fixing a leaky toilet tank or bowl can be simple. You might need to replace parts like the fill valve, flapper or gasket, and spud washer. Making sure the tank is installed right is also important to stop leaks. Here’s a step-by-step guide to help you fix a leaky toilet tank or bowl.
Replacing the Fill Valve
The fill valve controls the water level in your toilet tank. If it’s faulty, it might cause leaks. First, turn off the water supply and drain the tank. Use an adjustable wrench to loosen the nut holding the fill valve to the toilet.
Remove the old valve, put the new one in place, and tighten the nut well. Turn the water supply back on to check for leaks.
Replacing the Toilet Flapper or Gasket
The flapper or gasket seals the tank until you flush. Damage to it can cause leaks. To replace it, first turn off the water supply and drain the tank.
Remove the old flapper by disconnecting it from the flush handle chain and the overflow tube. Attach the new flapper, making sure it fits well on the valve seat. Reconnect the flush handle chain and test it by turning on the water and flushing.
The gasket is between the tank and the bowl. It prevents leaks when you flush. Loosen the tank bolts with an adjustable wrench, remove the tank, and replace the old gasket with a new one.
Reattach the tank to the bowl and check for leaks.
Replacing the Spud Washer
The spud washer seals the tank and bowl connection. A worn-out spud washer can cause leaks. To replace it, first turn off the water supply and drain the tank.
Remove the tank from the bowl and take out the old spud washer. Install the new one, reattach the tank to the bowl using new tank bolts and washers if needed, and tighten evenly for a good seal.
Reinstall the Tank
Properly reinstalling the tank is key to fixing leaks. Make sure the tank is aligned right on the bowl before tightening the bolts. Tighten the bolts evenly without over-tightening to avoid cracking the porcelain.
Turn the water supply back on and check for leaks around the bolts and gasket. Correct alignment and secure installation are crucial to prevent future leaks.
Testing and Final Adjustments
After fixing your toilet leak, it’s key to do some final checks. This makes sure everything works right and there are no leaks.
Reconnect the Water Supply
Start by reconnecting the water supply line carefully. Turn on the water slowly to fill the tank. This slow start helps you spot any leaks right away.
Check for Leaks
After the tank is full, look around the toilet for leaks. It’s important to check carefully to find any spots that need fixing. If you see a leak, tighten or adjust the parts to fix it. This step is crucial for a lasting repair.
By doing these steps, you’ll know your toilet repair was done right. Your toilet should now work perfectly.
Conclusion
You now know how to fix a leaky toilet tank or bowl. We covered everything from spotting the first signs to replacing parts. This includes the fill valve, flapper, gasket, or spud washer.
Testing and adjusting your toilet ensures it works right. This means no more leaks. Our guide helps you fix leaks and avoid future plumbing problems.
But, DIY fixes might not work for everyone. If you need a pro, J Sewer & Drain Plumbing Inc. is here. They offer a 5-year guarantee on sewer repairs and a 1-year guarantee for plumbing in Chicago, IL, and nearby.
Call them at (773) 968-2704 for special deals. You can fix leaks yourself or get help from experts. Either way, you’re ready to handle any toilet leak.


